Add Your Heading Text Here
Add Your Heading Text Here
Turpis cursus in hac habitasse platea dictumst quisque sagittis. Euismod quis viverra nibh cras pulvinar mattis nunc. Dictum fusce ut placerat orci nulla. Faucibus ornare suspendisse sed nisi lacus sed viverra. Quam pellentesque nec nam aliquam sem et tortor consequat. Id aliquet risus feugiat in ante metus dictum at. Ornare massa eget egestas purus. Imperdiet massa tincidunt nunc pulvinar. Turpis cursus in hac habitasse platea dictumst.
Lorem ipsum dolor sit amet, consectetur adipiscing elit. Ut elit tellus, luctus nec ullamcorper mattis, pulvinar dapibus leo.
Add Your Heading Text Here
Add Your Heading Text Here
Lorem ipsum dolor sit amet, consectetur adipiscing elit. Ut elit tellus, luctus nec ullamcorper mattis, pulvinar dapibus leo.

Statement Makers
Benefits of Tile & Stone
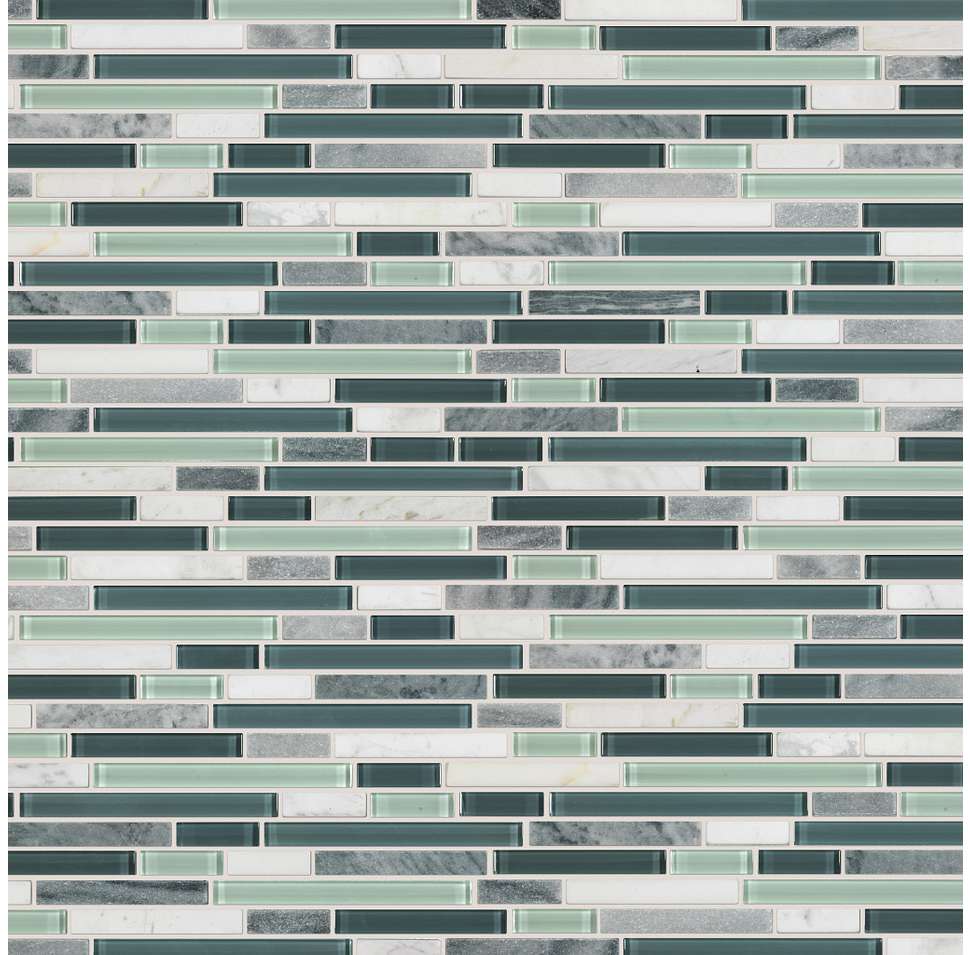
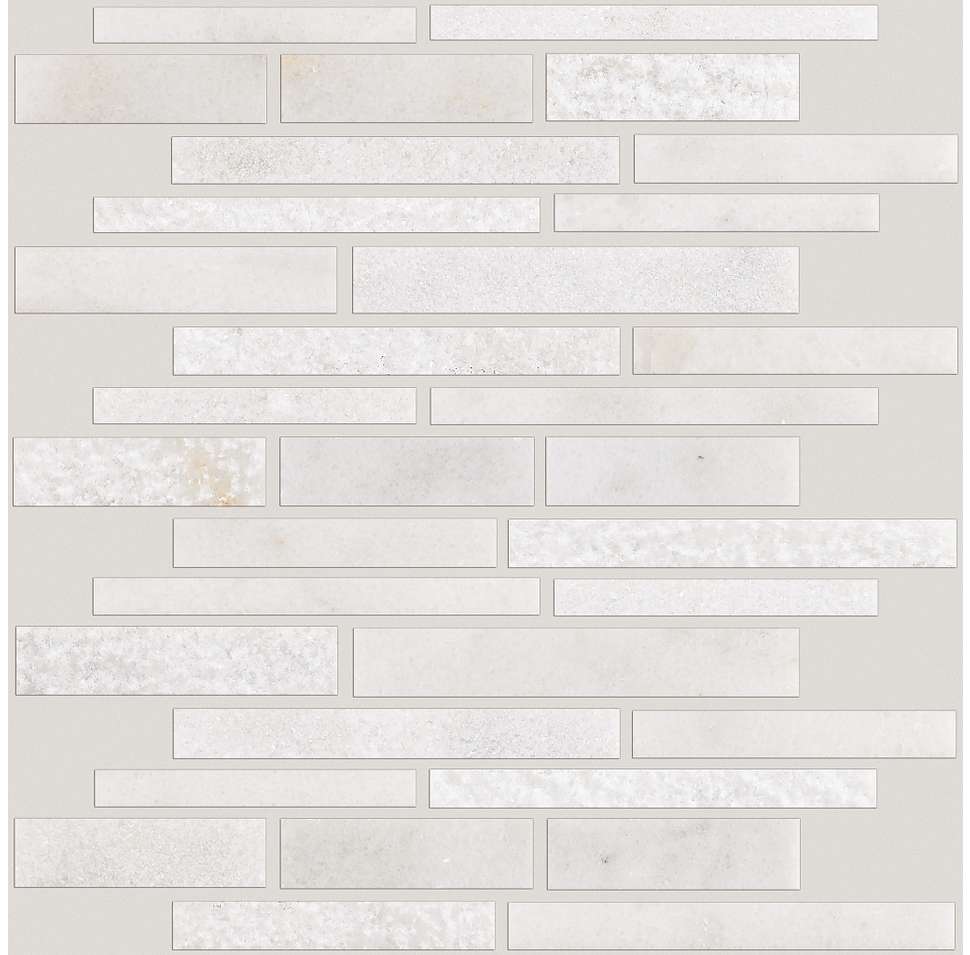
Both chic and classic, floors of tile or stone make a statement. They’re elegant. On-trend. Some even have recycled content. And tile is not just for the kitchen or bath—our styles captivate in any room of the house. You can even put tile in the bedroom, evoking the dreamy feeling of a Roman villa. In any space, you’ll love the timeless look of tile.
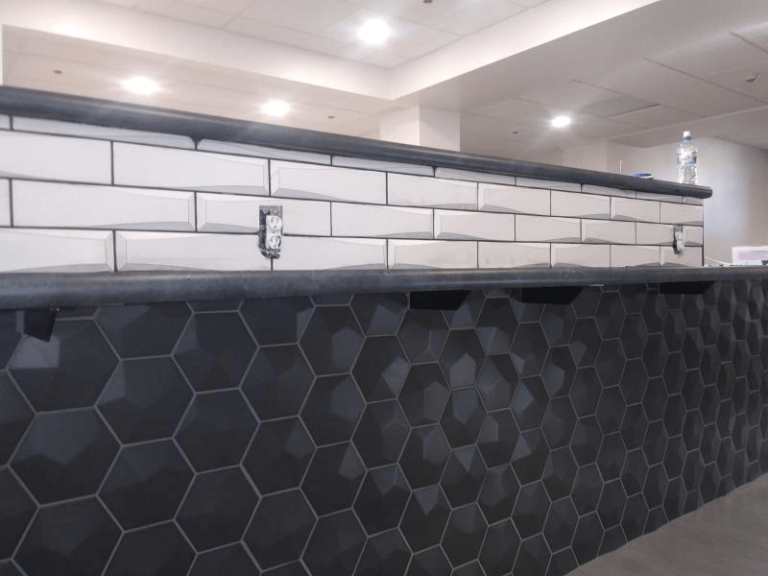
For floor décor that’s creative, practical, and charming, our tile is unbeatable. Amazing colors, shapes, textures, and sizes give you options that make a tile floor so stylish. And when you add extra pizzazz with glass trim, hand-painted accents, or colored grout, you take style to new levels.
One of the best things about tile is the ability to install it in special patterns that add interest to your floor. These patterns are easy to create and offer endless variety—another plus. Try alternating colors for a dramatic, two-toned effect. Mix sizes and shapes; choose between repeated or random patterns. No matter how you lay tile, it’s sure to make a statement.
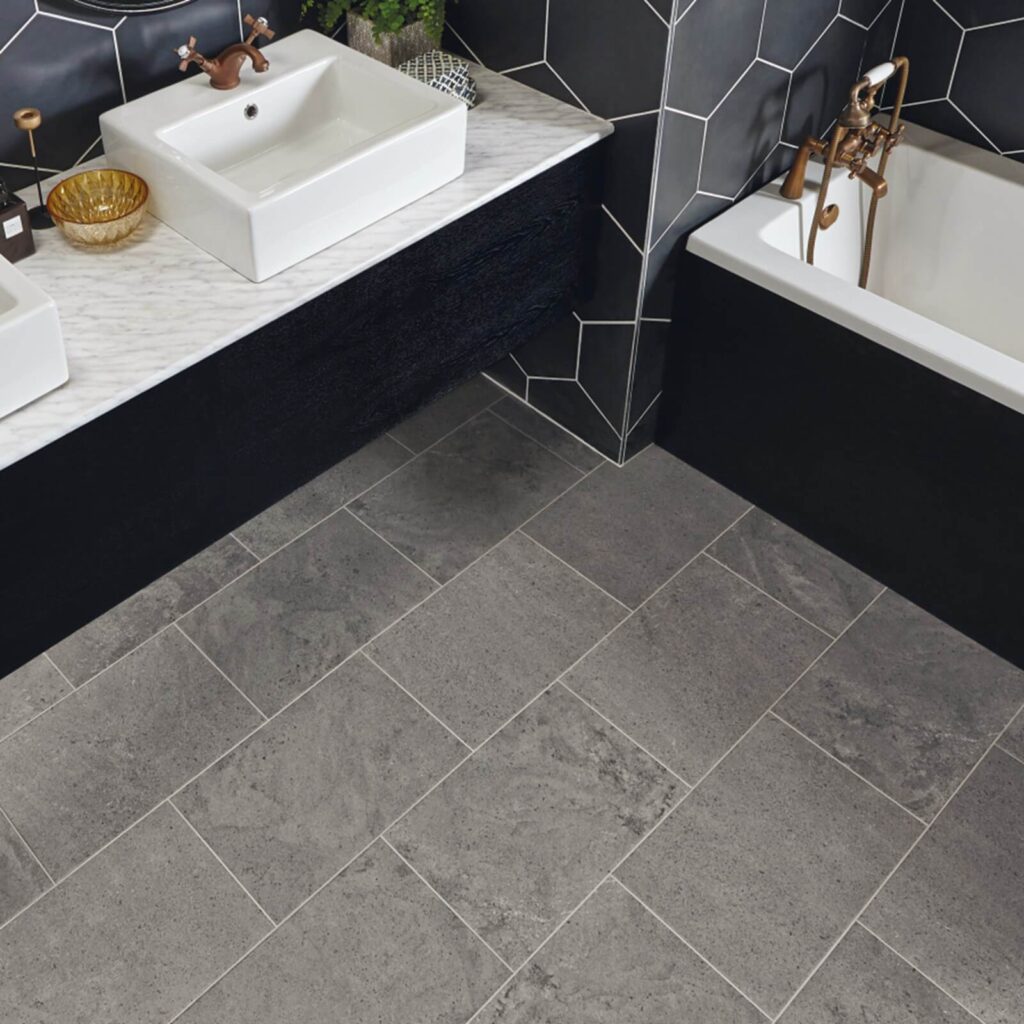
With a long history as one of the most durable flooring materials available, tile is also a great choice for rooms that see a lot of wear or moisture. It resists stains and scratches and is easy to clean. The result is a floor that’s not only beautiful, but practical as well.
Before & During
Installation
Before
You want a problem-free installation and, to help ensure it, here’s a checklist of things to do before the installer arrives.
-
Existing Flooring
Make sure you know who’s removing your existing flooring. If you wish, the installer will do it. If not, you should make arrangements to have it removed.
-
Who’s moving the furniture?
Decide in advance if you want to take on the responsibility or if you want the installer to handle it. Either way, be sure to remove all fragile items from the room.
-
Pick Install Direction
In general, your linear or rectangular tile should run parallel to windows or, in narrow rooms, to the longest wall.
-
Measure door clearances Before
If the new floor is thicker than your existing floor, door bottoms may rub. Plan in advance to have someone shave or saw the correct amount off the bottom of each door so it does not drag.
-
Paint First
If you’re planning to paint, wallpaper, or do any other remodeling in the room, it’s best to do it before your tile is installed. Keep extra paint to touch up any post-installation nicks.
During Installation
To make your tile floor looks good now and for a long time to come, proper installation is critical. Here’s the procedure an experienced installation professional will follow:
-
Subfloor
Tile must be installed over a subfloor that’s structurally sound, rigid, level, smooth, and clean. Sometimes, cement backer board must be laid first. Preparing the subfloor is the most critical step in achieving a good installation—and your professional installer will know how to do it.
-
Installation
First, the installer will determine tile layout. Then, using chalk-lines as a guide, your installer will spread thinset mortar in small areas and will place the tiles in it. Spacers are used between tiles so that they are evenly placed. After the mortar sets, grout is applied—sometimes the next day.
-
Cleaning & curing
The installer will carefully clean the tiles, ridding them of all grout. After the installation is complete, it’s necessary to stay off the floor for 24 – 48 hours, depending on the room’s expected traffic.
-
Call With Questions
It’s a good idea to check with us directly to find out if there are other actions we recommend before installation. Just call a member of our friendly sales staff.
Keep It Clean
Care and Maintenance of Tile & Stone
Please be sure to reference your tile floor warranty for specific care requirements! For your general information, however, here are some basic tips and facts:
- As needed, sweep your floor to remove dirt and grit.
- Wipe spills promptly.
- Damp mop once a week (or more often for heavy traffic areas) using a special cleaner we can recommend—just ask your sales associate for guidance.
- Make sure the cleanser you use is a neutral pH compatible with grout cleaning. Never use detergent or soap, which can dull the surface or promote mildew growth. Cleaners should never contain acids, vinegar, chlorines, or ammonia, as these chemicals can damage and discolor both the grout and the stone or tile.
- Use protective mats in entryways and pads under furniture legs.
- Make sure you wait the proper time for grout to cure before you apply a sealer.